
Structured cabling: installation mistakes that are expensive to fix
A cabling network is installed once and then hidden behind the finishes. The most expensive mistakes in it are the ones that force you to pull cable again or open up finished walls and ceilings. Here are seven such mistakes and how to avoid them: which cable to choose, what to receive at handover and what a connection costs.
Why fixing is expensive
After the finishing work, fixing a mistake becomes a whole set of jobs, and the client pays for all of them:
- finding the fault;
- removal;
- new cabling;
- restoring the finishes;
- retesting.
On an operating site, add restrictions on working hours and possible downtime. There is no universal rule like “a redo costs three times more”: the cost depends above all on how accessible the route is and how much of the finishes has to be restored.
Seven expensive mistakes
1. No installation slack
The cable is cut flush, so moving an outlet or re-terminating a damaged section is no longer possible, and a new line is needed. That is why we leave installation slack at both ends of every line.
2. Power and data cables without separation
Long parallel runs near high-power equipment are especially problematic. We set route separation in the design rather than deciding on site.
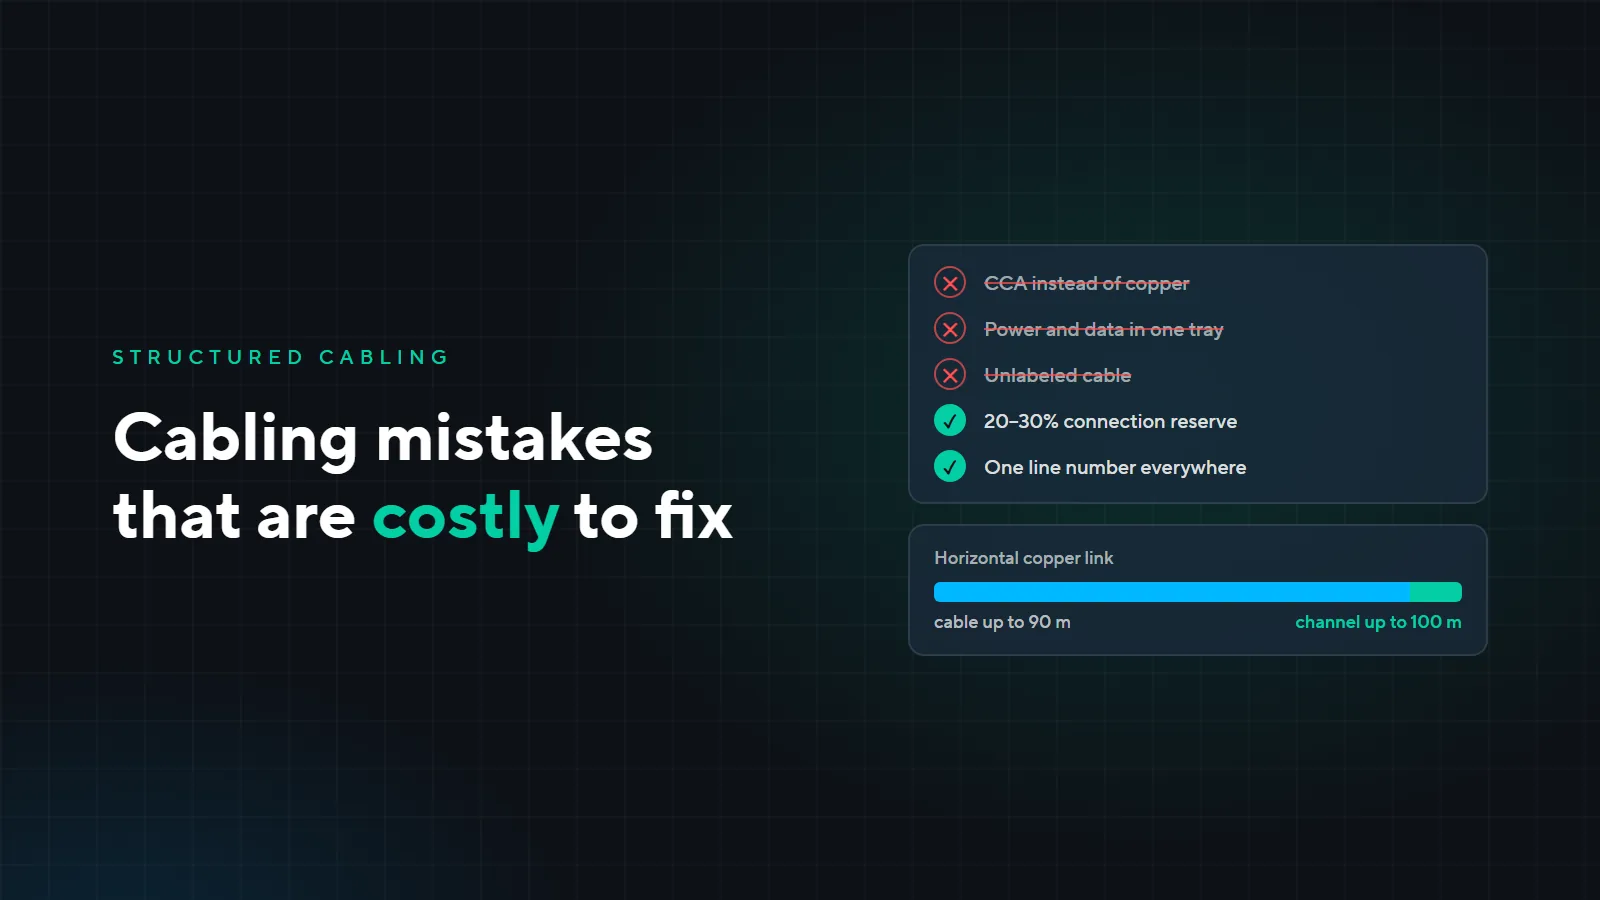
3. CCA instead of copper
CCA is copper-clad aluminum: it looks like copper and costs less. But its resistance is higher, which is especially undesirable when cameras and access points are powered over the cable (PoE). We do not use it in permanent structured cabling.
4. Poor cabinet location and long routes
For a standard horizontal copper link, the guideline is up to 90 m of fixed cable and up to 100 m for the whole channel including patch cords. If the cabinet is badly placed, distant workstations fall outside this limit. That is why we choose the cabinet location in the design, based on route lengths.
5. Cable damaged during installation
Kinks, excessive pulling tension and overtightened cable ties are not always visible right away. They can show up as unstable operation after the site opens, when the cable is already behind the finishes. That is why we check every line with a tester before handover.
6. No labeling or as-built documentation
Without labels, any change turns into a search: which cable goes where and what can be disconnected. The right way is for each line to have one number everywhere.
7. A network designed with no headroom
There are no extra lines, free ports or cabinet space, so a few new workstations require new cabling. Our guideline when agreeing on a design is 20–30% reserve in connections and about 30% free cabinet space after the panels, organizers and equipment are installed. This is a design guideline, not a requirement of the standard: extra lines, free switch ports and PoE power are calculated separately for each site.
Which cable to choose
| Category | When it fits |
|---|---|
| Cat6 | The baseline for a typical office |
| Cat6A | New sites planned for 10 Gbit/s, modern access points, cable that would be expensive to replace later. Supports 10 Gbit/s over a channel up to 100 m |
| Cat5e | Specific tasks with a limited budget |
In every case, the cable has solid copper conductors.
Standards we follow
The technical basis is the international standards ISO/IEC 11801 and ANSI/TIA-568. Requirements for pathways and spaces are covered by TIA-569, for labeling and administration by TIA-606, and for grounding and bonding by TIA-607. The specific documents and their editions are set in the design, taking into account the requirements in force in Kyrgyzstan.
Materials
We choose by specifications, not by brand recognition: copper conductors, a verified category, a jacket suited to the installation conditions, compatible outlets and patch panels, and a clear product origin. We do not use CCA, counterfeits or cable without verified specifications in permanent cabling.
What you receive at handover
We check every line with a tester. The handover package includes:
- a diagram of routes and outlets;
- the equipment layout in the cabinets;
- the cable log;
- labels at both ends of every line;
- test results under the same line numbers.
The warranty on installation work, including structured cabling, is 12 months. The terms and the start of the period are set in the contract.
What it costs
In a full estimate, the network can come to about 14,500 som per connection. That is what came out in the hotel example: 400 ports and about 5.8 million som for the network and cabling, including switches, cabinets and a firewall. The total depends on route lengths, cable category, equipment, PoE requirements and installation conditions.
This is an average, not a minimum price. In the estimate we show what it includes: cable, outlet and module, patch panel port, patch cords, installation, labeling, testing, documentation, and a share of the cost of cabinets and active equipment. Cable trays, UPS, Wi-Fi and construction work are listed separately.
Auditing an existing network
If the network is already running but there is no documentation, you can order a cabling audit as a separate job. It includes:
- inspecting cabinets and accessible routes;
- identifying which line goes where;
- restoring labels and the cable log;
- measurements;
- a list of defects with repair priorities.
The cost depends on the number of lines, the state of the documentation, access to both ends of each cable, the depth of testing and whether the network can be taken offline. Night work and restoring labeling that is missing entirely add to the effort. We give a price after the initial survey.
Building, renovating or moving? Leave a request at the design stage: it is easier to get the cabling right the first time than to fix it later. See our work on the “Low-voltage systems” page.